

How To Fix Harsh Light In Photoshop
Remove hotspots from portraits with Photoshop
Hotspots, caused by harsh lighting such as bright sunshine or an undiffused flash, are partly an exposure problem and partly a colour problem, but you'll rarely be able to eliminate them using either the exposure or the colour tools in Photoshop Elements or CS. Instead, the most effective approach is usually to treat them as a retouching challenge. In fact, this is a particularly good example of the benefits of being able to change the retouching tools' blending mode.
Note that we're talking here about tool blending modes, which is set in the Options bar, rather than layer Blending Modes. The latter apply to an entire layer; tool blending modes can apply to individual brush strokes - you can change from one stroke to the next if you wish.
Here's how you can use this to tone down skin glare using Photoshop CS6 (or other versions of CS or Elements) - there's a sample image for you to use below.
Click here to download image
01. Create a cloning layer
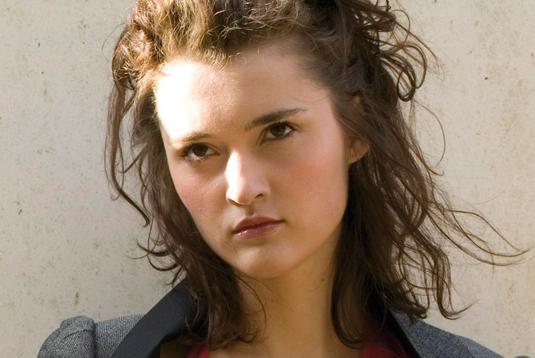
Open glare.jpg. The sunlight hitting the subject's face has created harsh highlights with no detail, so we'll tone them down a bit by cloning nearby areas of normal skin tone. Add a new layer, switch to the Clone Stamp tool, and enable the All Layers option.
02. Clone in Darken mode
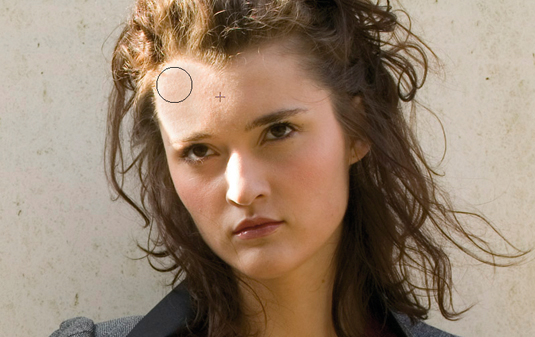
Set the tool to Darken mode, so that only areas lighter than the tones you sample (that is, the glare) will be affected. Set the brush size to about 60 pixels, the hardness to 25% and opacity to 60%. Alt-click in the middle of the forehead to sample medium skin tones that contain some visible texture, and click to dab these pixels over the highlights - don't drag, because the area you're sampling is small.
03. Preserve tonal variation and detail
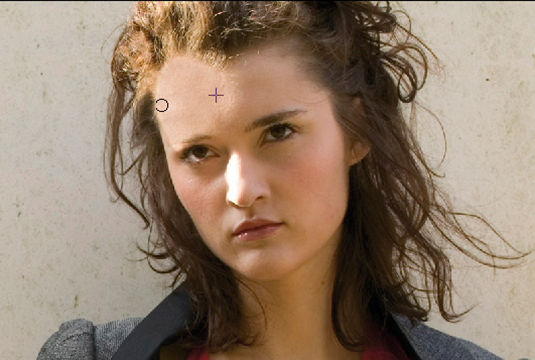
Go over the right half of the highlight area more than the left half to create a smooth transition from midtone to lighter areas. Reduce the brush size and opacity to work close to the edges - you don't want to blur the detail of the hairline or eyebrows. If you do affect these areas by mistake, you can remove the cloned pixels with the Eraser tool set to the same hardness and opacity as the Clone Stamp.
04. Fine-tune as required
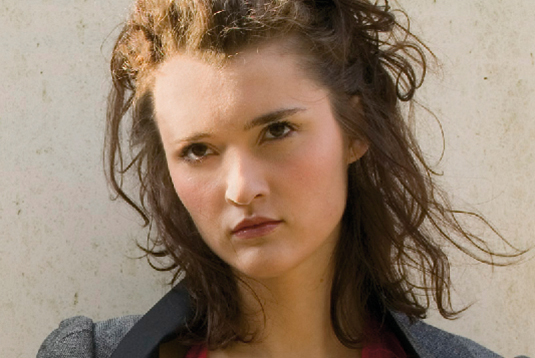
Sample from the centre of the forehead to retouch the nose, adjusting the brush to suit and tidying up with the Eraser tool. To soften the edges of the shadows, create another new layer (so you can fine-tune this area separately if you decide to alter the opacity of the main cloning layer later), and set the Clone Stamp to Normal mode so you can both darken and lighten areas.
This tutorial first appeared in Portrait Photography Made Easy - a bookazine from the makers of PhotoPlus.
Now read:
- 101 Photoshop tutorials
- 20 best Photoshop plugins
- Download 40 free textures
- The 40 best free fonts for designers
Related articles
How To Fix Harsh Light In Photoshop
Source: https://www.creativebloq.com/photoshop/remove-hotspots-portraits-photoshop-11121148
Posted by: tsenggasselve.blogspot.com
0 Response to "How To Fix Harsh Light In Photoshop"
Post a Comment